Showing posts with label Pink. Show all posts

Thursday, July 6, 2017

Didn't Make the Cut Part 2: Scrapbook Layout

Hey there Journey Friends,

Today I'm beginning the massive share of a selection of projects I created to submit to Richard Garay's Designer Showcase.  I was excited when he announced the call and started working on some special projects immediately.  I compiled all my projects into a gallery on my team FB page (JOIN TEAM ITCHIN INKERS TODAY!) so that I could get the input of my fellow team members who would then vote on the ones I should submit.  It was important to me to get their input and was my first stage in my project submission process.

Today I'm sharing the projects that "Didn't Make The Cut" by my team.  Although I LOVE all of the projects I proposed for this call,  I could only submit two cards and one scrapbooking design, so I am so grateful to my team for helping me make the final decisions! As with all of my project shares on my blog, I will share ONE PROJECT PER POST as they will include my creative process and additional photos.

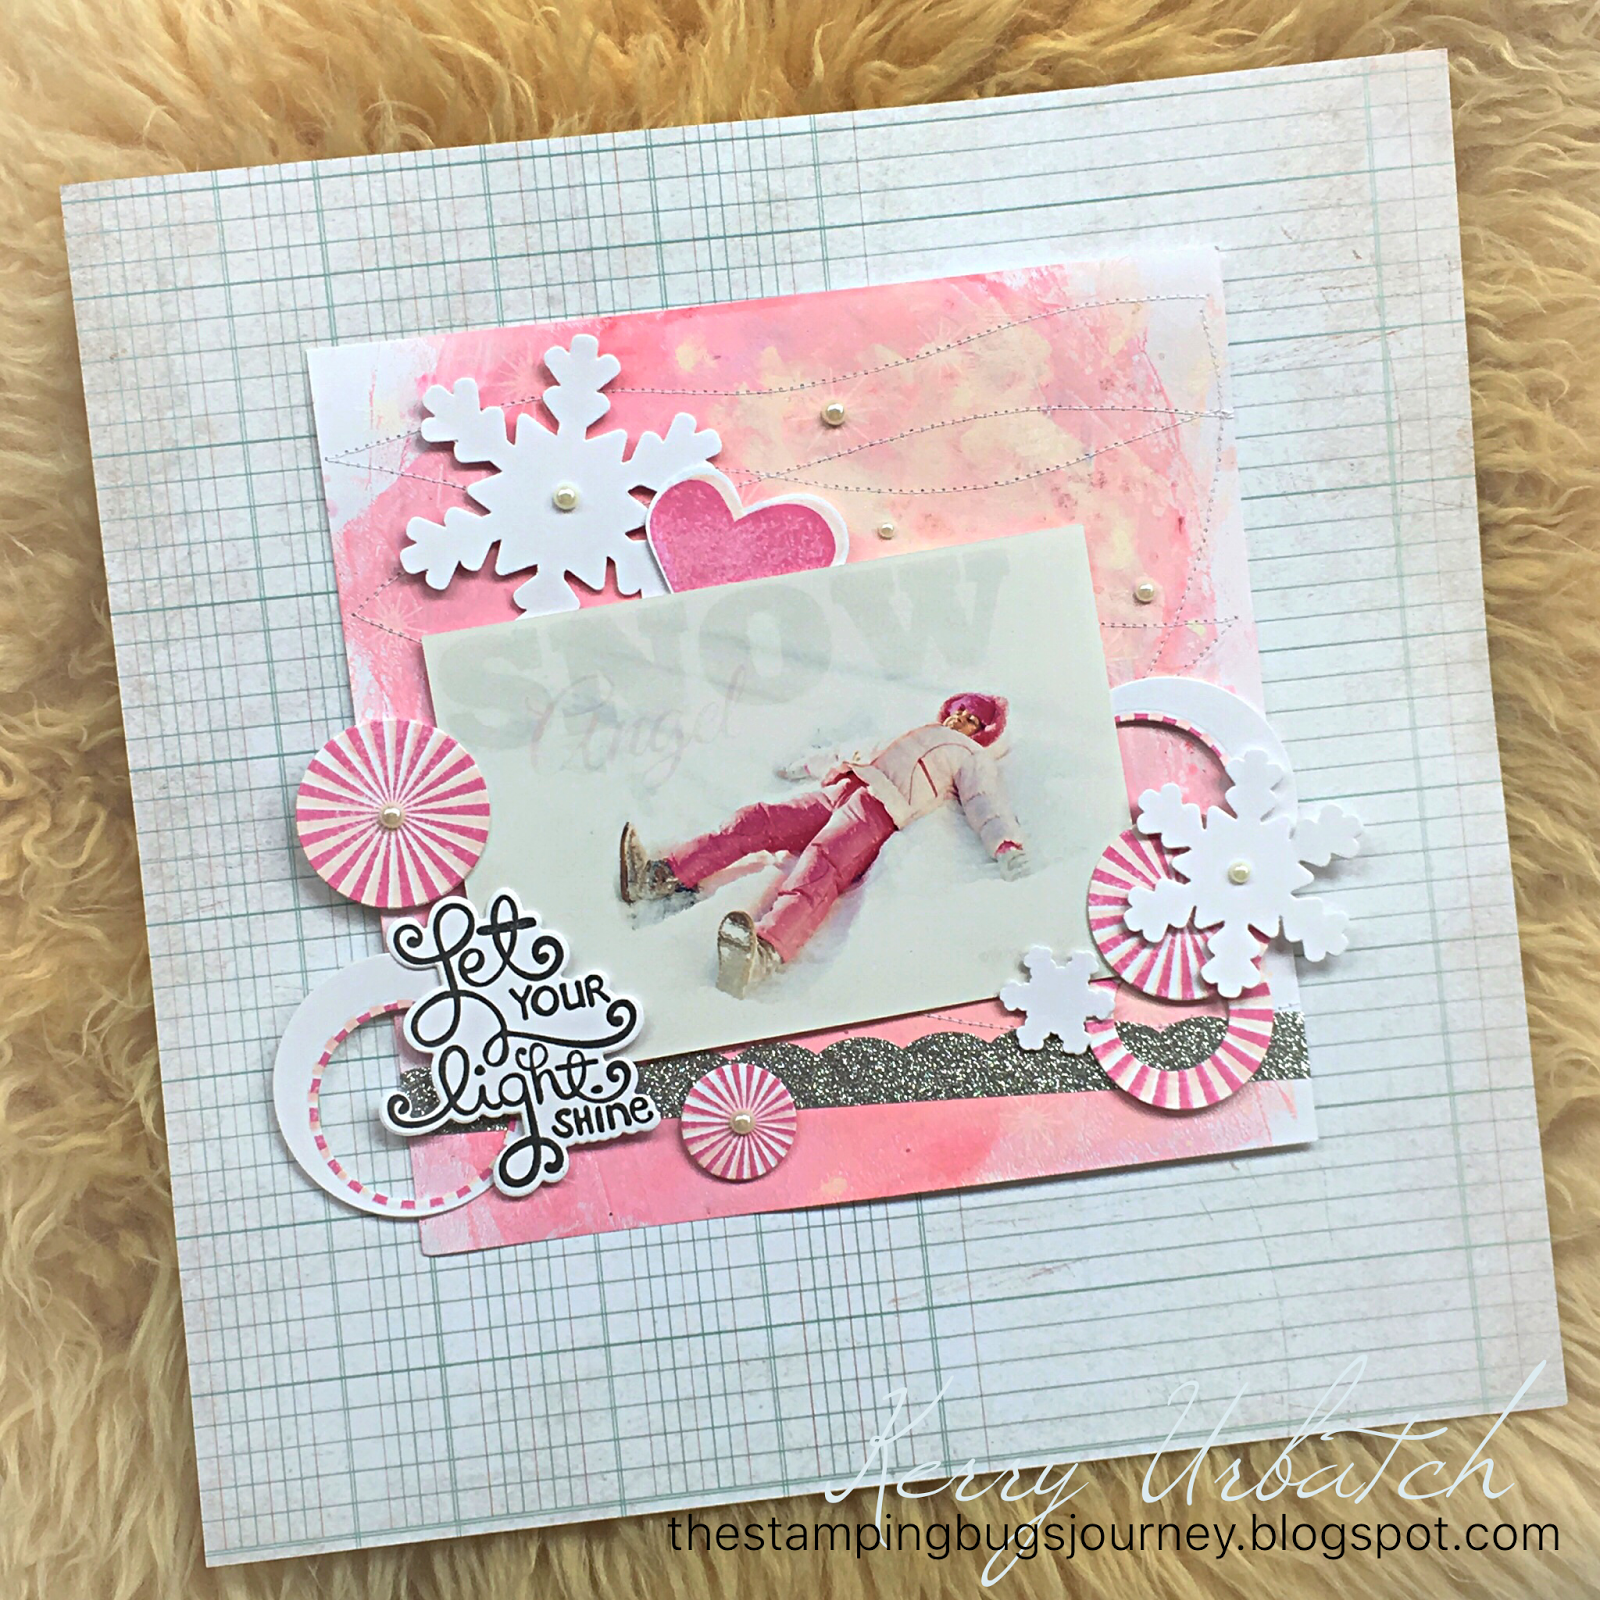
Here's a fun 8x8 (or increased to 12x12 with proper mounting/framing) scrapbook layout created with a favorite memory photo...I LOVE SNOW and so does my NIECE!
To create this layout I started off my inking my GelPress and a Brayer with Sweet Berry and Butter Cream Acrylic Paint.  I Pressed Whip Cream Cardstock onto this to lift the ink.  After the layers were set to my satisfaction, I used Whip Cream ink to stamp the starburst image from the Sparkle Trim stamp set (This set is available in a stamp/die bundle too).
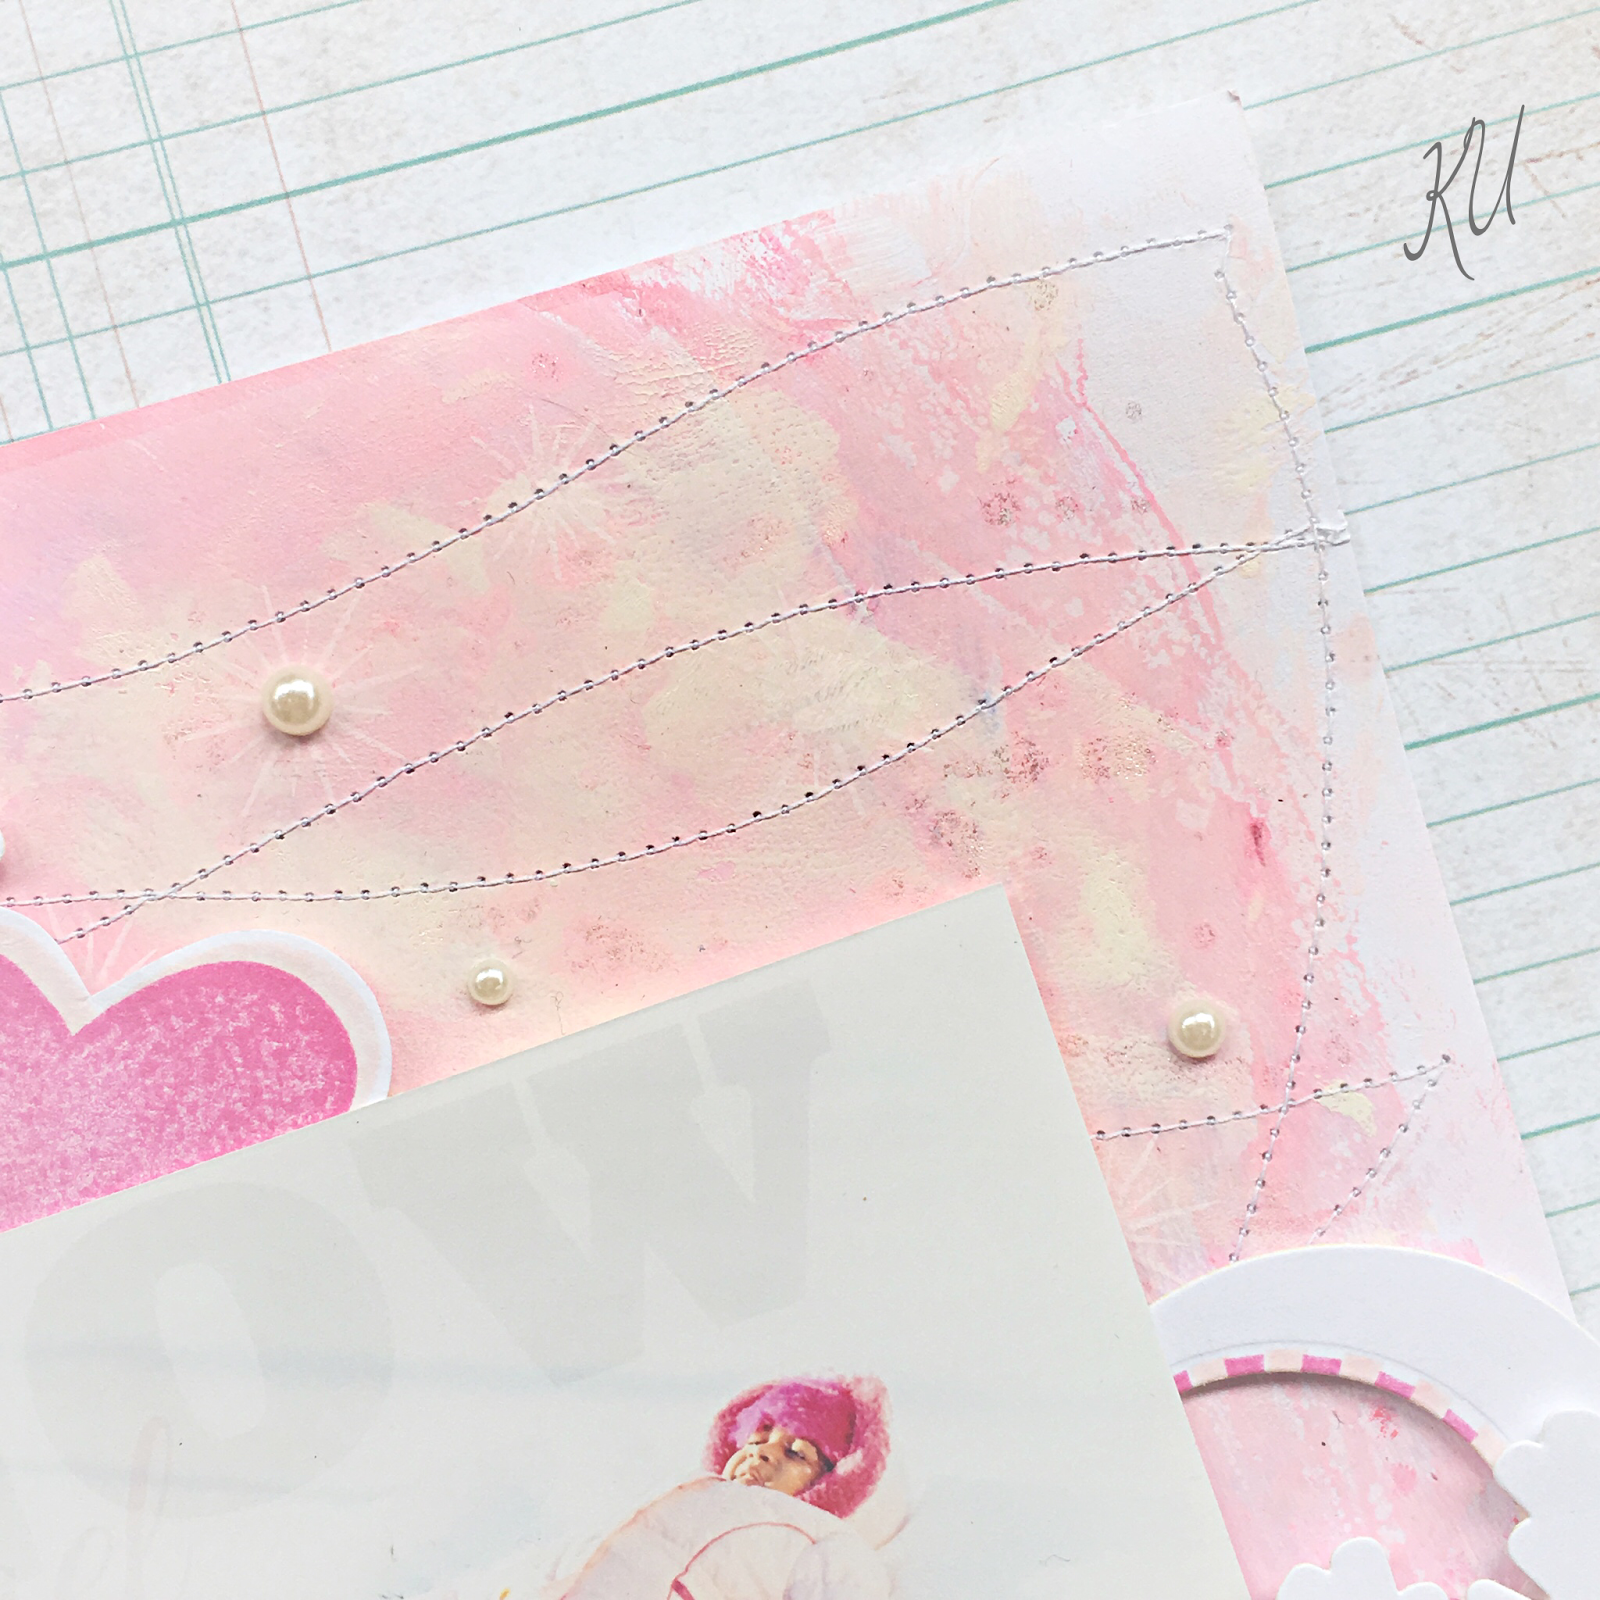
After creating the background, I used my sewing machine to stitch a meandering stitch all over the page.  This acted as my base for my layout.
I stamped the burst image and the heart using Watermelon Fusion and Bubble Gum ink then used dies to cut them out. I made sure to keep the negatives from these burst cuts so that I could use them in my layout.  I loved the little striped edge they created!  I also diecut various snowflakes from the Snow Burst Die Set so that I could incorporate them in my layout design.  
Next, I stamped the fun sentiment from the Hello Love Stamp Set  (also available in Stamp/Die bundle) using Black Licorice ink and diecut it with the coordinating die.  I don't often use sentiment dies, but I love how this one curls the edges ever so slightly to create a "puffy" illusion.
It took a bit of time to be content with the layout of the circles but when I did, I applied some Small Foam Squares and adhered them into place. Before that was done, I added a strip of Silver Sparkle Washi for fun!
Adding a few pearls to the layout was the finishing touch.  Since this is an 8x8 layout, there are many options to build this up to the 12x12 layout size I usually frame.  Pictured above, you can see it with the background from the Romantic Journey Prints.  I also tried it against some Buttercream cardstock and it looked just as nice.

Wednesday, October 28, 2015

beBrave...Some more!


Yummy collage!  I love making beautiful messes!  Here are two cards I created for the Be Brave card drive with FSJ.  I pulled out my retired Bootprint ATS stamp and sentiment, The Hope ATS, The Honeycomb ATS (look closely) some freebie wooden stars, The Tag die, some scraps from silver stripe vellum, some scraps from the Journey Girl wrapping paper, some twine, some pearls, some splashes, silks, pearls and the whole ball of wax!  WOO!  
 Here's the second  (well actually the first) verson...I think it's my favorite...I used all of the same materials except added some taupe seam binding (ruffle taped to the back) and did a little handstitching.
Take a peek at the heart...It's dipped in layers and layers of clear embossing powder.  YUM, texture, fun!

beBrave

This month I've been contributing cards to several different card drives for Cancer Awareness Month.  I created the following cards for the beBrave drive at Fun Stampers Journey:
I played around with my new favorite stencil Bloom Wall ($6.95) and some cheap white Apple Barrel acrylic paint and added some reinkers Sweet Berry ($5.95) and Beach Breeze ($5.95) and to change the color.  I wanted the ink underneath to be really messy so I just applied some paint to the stencil and slapped it on the Sweet Berry paper over and over...After applying the messy stenciling, I overlayed the "neat" stenciling on top with a heavy application of white paint and one of the plastic panels from the HOPE ATS stamp ($7.95) I used acted as the "spatula".  
I'm one for layers upon layers of cardstock as I create my cards, so it was fun to keep assembling the layers here. I also offset the ribbon using the pierced oval diecut.  
Adding a little charm tied to the satin ribbon bow just finished it off.  If you look close enough, you can see that the pink ribbon was heat embossed with over three layers of clear embossing powder. YUM!
The second card was created with the leftovers from the card above.  I didn't want to toss the extra strip of stenciled pink paper so I decided to create a "strippy card" with other scraps on my workdesk. 
 As you can see, I splattered, spritzed, tore, and stamped.  SOOO FUN!  PS...I had to use a Mat knife to cut the inside of the ribbon...I think FSJ needs to come out with a coordinating die for this stamp (PLEASE!).
Stop back again for a few more cards I created for this special card drive.

Tuesday, February 24, 2015

Tutu Fest Part 4

This is the final card from the February Kit of the Month.

I'm patting myself on the back for sticking with the inspiration design.  I only tweaked the layout of by turning the tutu...:)

I think this card would make a FABULOUS thank you card for attending a little tikes dance recital or a simple little "Send a Smile" card.
Here's a closer shot of the tutu.  I tried to add a little bit of "tulle" effect on the coloring.  I also added a light sprinkling of Journey sparkle.  SOOO adorable!
This is just the cutest tutu ever!!!  I distressed the cream panel to bring the adorable tutu to the forefront.  Notice the little yellow circle?  Looks like a spotlight to me!  

Sunday, February 22, 2015

Tutu Fest Part 3

Here's card #3 in the series- Not much tweaking here- other than distressing and adding some sparkle here and there.  I can't tell you how much I LOVE this set.  Seriously...It's soooooo cute!  
When I got the kit, I put the rectangle and star dies on my wish list.  I love that most of the dies have the sitching holes along the edges.  As many of you know, I love quilting, so you'll see some sewing and some quilty goodness on some cards to come.
Pretty pink satin ribbon just finishes the card off- I don't think a single card I make is missing a bit of ribbon!  LOL
So I'll be back tomorrow to share another Irish Dancer card and inspiration sheet featuring this set. Stay tuned!

Friday, February 20, 2015

Tutu Fest Part 2

Alrighty friends...This card design needed no other tweaking other than the arrangement of the pearls. I didn't have room for all three over at the side, so I sprinkled them all over the bottom.  I opted NOT to add distressing ink on this piece- and just trimmed the rectangle panel just a tiny bit all the way around.   I loved the added piece of ribbon that was included- I hardly ever add two pieces to my bows.  
I just love the ballerinas dancing along the top of the card!  Soooo cute.  It reminds me of sitting in the audience for hours and hours and hours and hours as I watched my niece perform in her dance recitals.  HA HA...I especially LOVED watching the tiny tots perform.
As promised, tomorrow I will be posting a special project I created using this adorable set.   You'll want to stop back because I'll have a FREE Inspiration Sheet on my sidebar that will provide the materials, directions and step out photos of my project.

Wednesday, February 18, 2015

Tutu Fest...

A couple days ago I found my Kit of The Month for February in my mailbox and yesterday, I had a fabulous snow day of crafting!  I made all of the cards (with slight modifications) and am excited to now have this set to play with FOREVER!

For the rest of February, I will be posting pictures of the cards I made as well as new projects using this adorable set.  As a treat to all my stamping friends, I'll also be including some fun FREE tutorial pages you might want to keep for inspiration.  You'll be able to print them and include them in your inspiration binder.

So here's the first of the four cards from the kit.
I used Copics to color the ballerina.  Since most people in my family have brown hair, I chose to color her hair with a mix of taupes and tans.  Her dress was colored with just a few pinks- and a pale purple (which is actually pink).  When colored and cut out, I added pop dots and some Stardust Stickles over the curls in her hair and on her tutu.  I opted to use this instead of my Journey Sparkle dust because I wanted a hint of sparkle and I could control it with the pen tip.  
I wanted to create a bit more variety in the paper designs for the top layout so I stamped Damask Print on one layer using Versamagic Pixie Dust ink then added more distressing to soften the card.  
The final touch was the little clothes pin and twine included in the kit.  I added one opalescent sequin and a bit-o-bling.  
If you're interested in joining the Kit of the Month Club, check out the flyer on the sidebar over there ---->. The kit includes Instructions to make four cards, all the materials you need to create this card (minus the inks, copics and sequins/bling) and three other cards that I will be sharing with you in the coming days.  All papers and dies are precut for you and packaged nicely in a zip-closure bag.  Envies included!  

***Please note, this stamp set is not available for stand-alone purchase in the catalog until three months.  So to get it before it hits the catalog, order your kit before March 1!

Non FSJ Products used: 
Opalescent Sequin/Bling
Stardust Stickles
Tsukeniko Pixie Pink Chalk ink,
Copic Markers:  Pale Purple RV000,Sugared Almond Pink RV02, Pale Cherry Pink R11, Rose Pink R85; Skin White E00, Barely Beige E11, Baby Skin Pink E21, Sand E33, Fig E87; Yellowish Shade YR20
FSJ Shopping List:

To Make MORE than ONE of each card here is a list of items to consider: