Thursday, July 6, 2017

Didn't Make the Cut Part 2: Scrapbook Layout

Hey there Journey Friends,

Today I'm beginning the massive share of a selection of projects I created to submit to Richard Garay's Designer Showcase.  I was excited when he announced the call and started working on some special projects immediately.  I compiled all my projects into a gallery on my team FB page (JOIN TEAM ITCHIN INKERS TODAY!) so that I could get the input of my fellow team members who would then vote on the ones I should submit.  It was important to me to get their input and was my first stage in my project submission process.

Today I'm sharing the projects that "Didn't Make The Cut" by my team.  Although I LOVE all of the projects I proposed for this call,  I could only submit two cards and one scrapbooking design, so I am so grateful to my team for helping me make the final decisions! As with all of my project shares on my blog, I will share ONE PROJECT PER POST as they will include my creative process and additional photos.

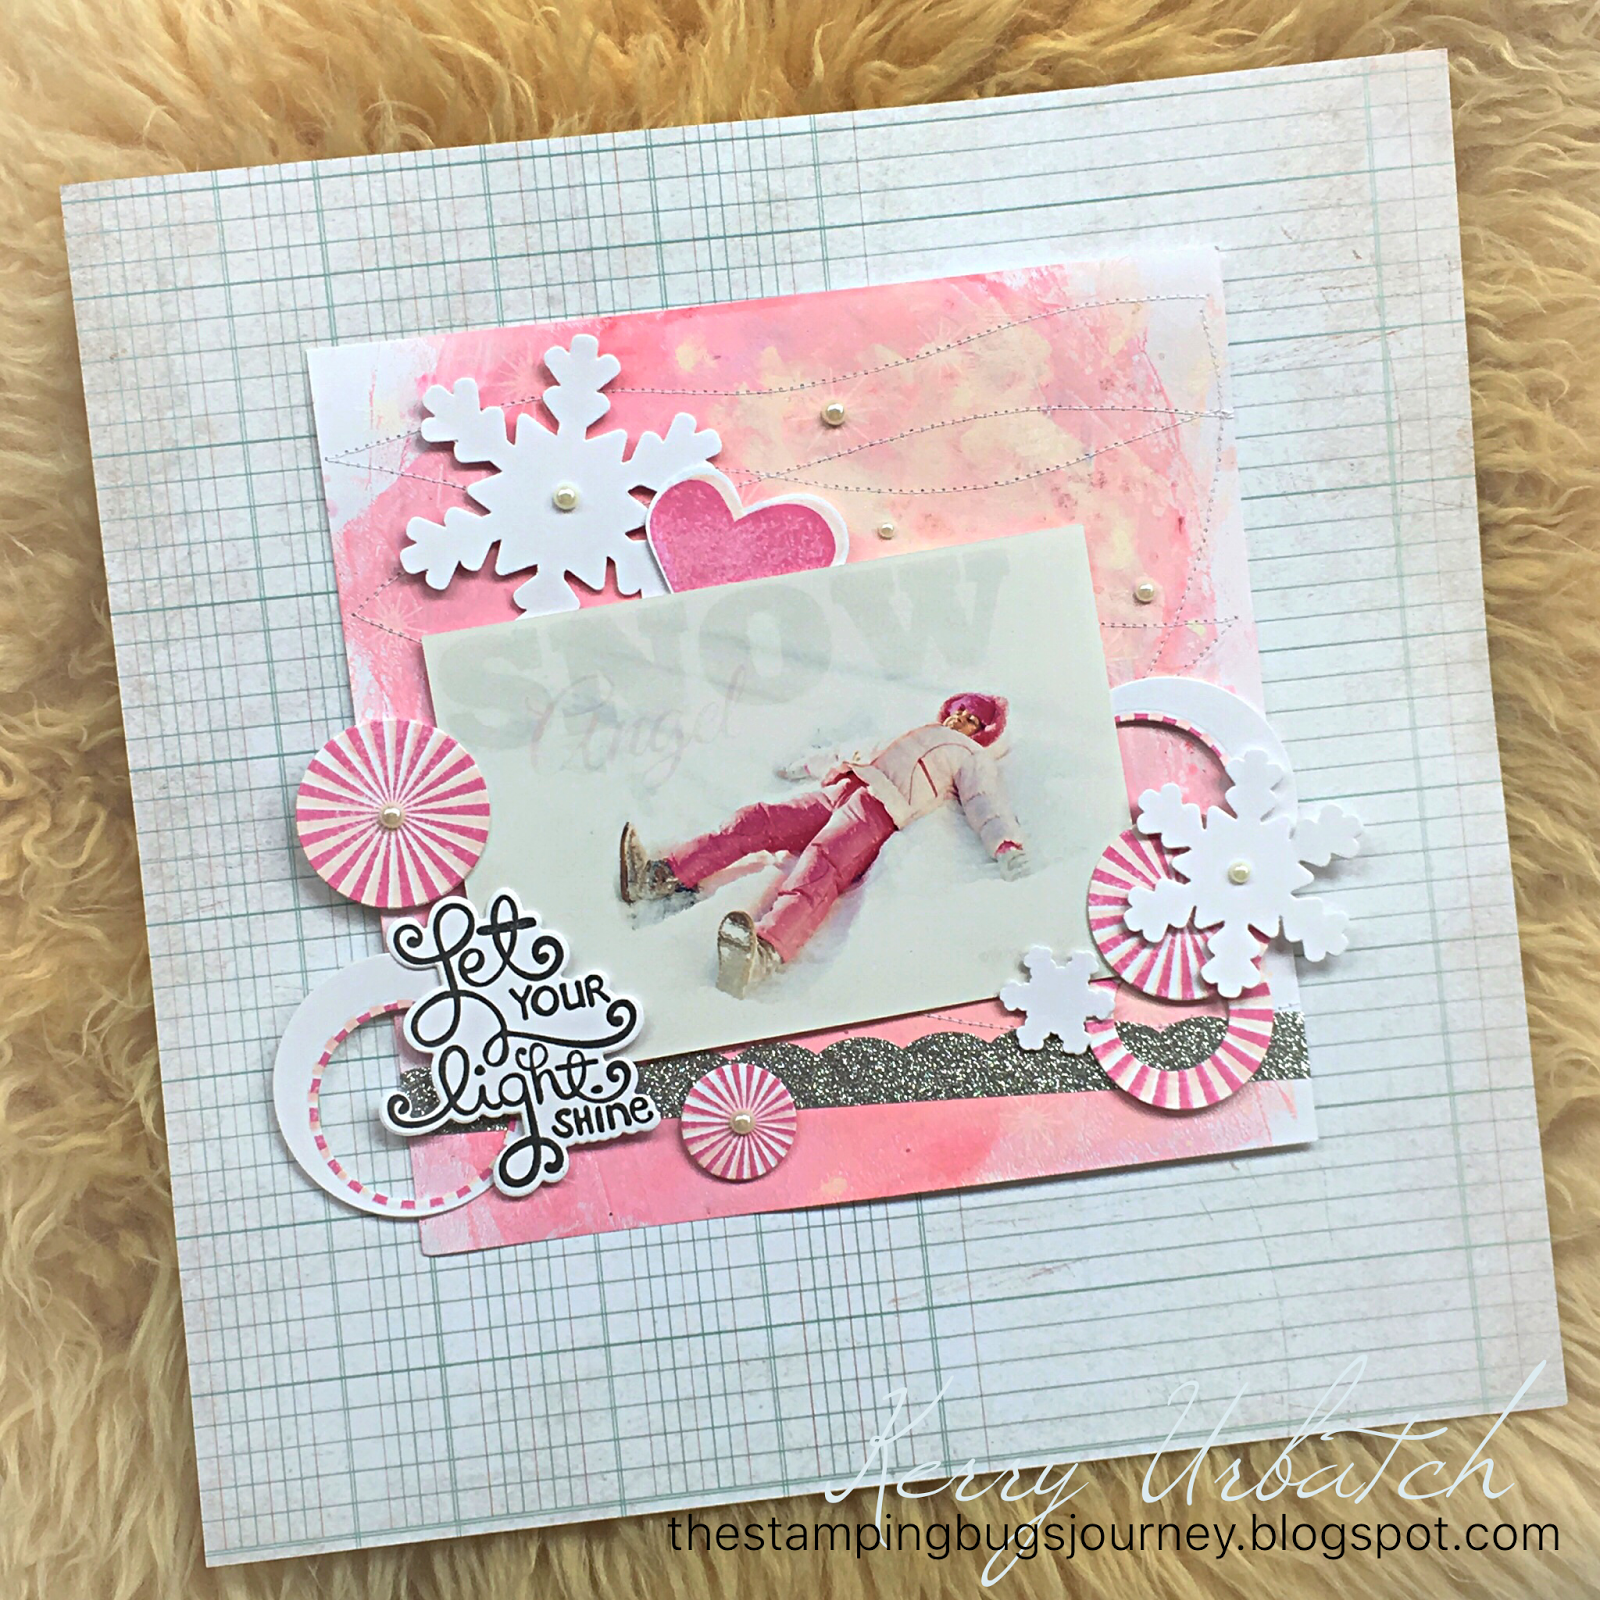
Here's a fun 8x8 (or increased to 12x12 with proper mounting/framing) scrapbook layout created with a favorite memory photo...I LOVE SNOW and so does my NIECE!
To create this layout I started off my inking my GelPress and a Brayer with Sweet Berry and Butter Cream Acrylic Paint.  I Pressed Whip Cream Cardstock onto this to lift the ink.  After the layers were set to my satisfaction, I used Whip Cream ink to stamp the starburst image from the Sparkle Trim stamp set (This set is available in a stamp/die bundle too).
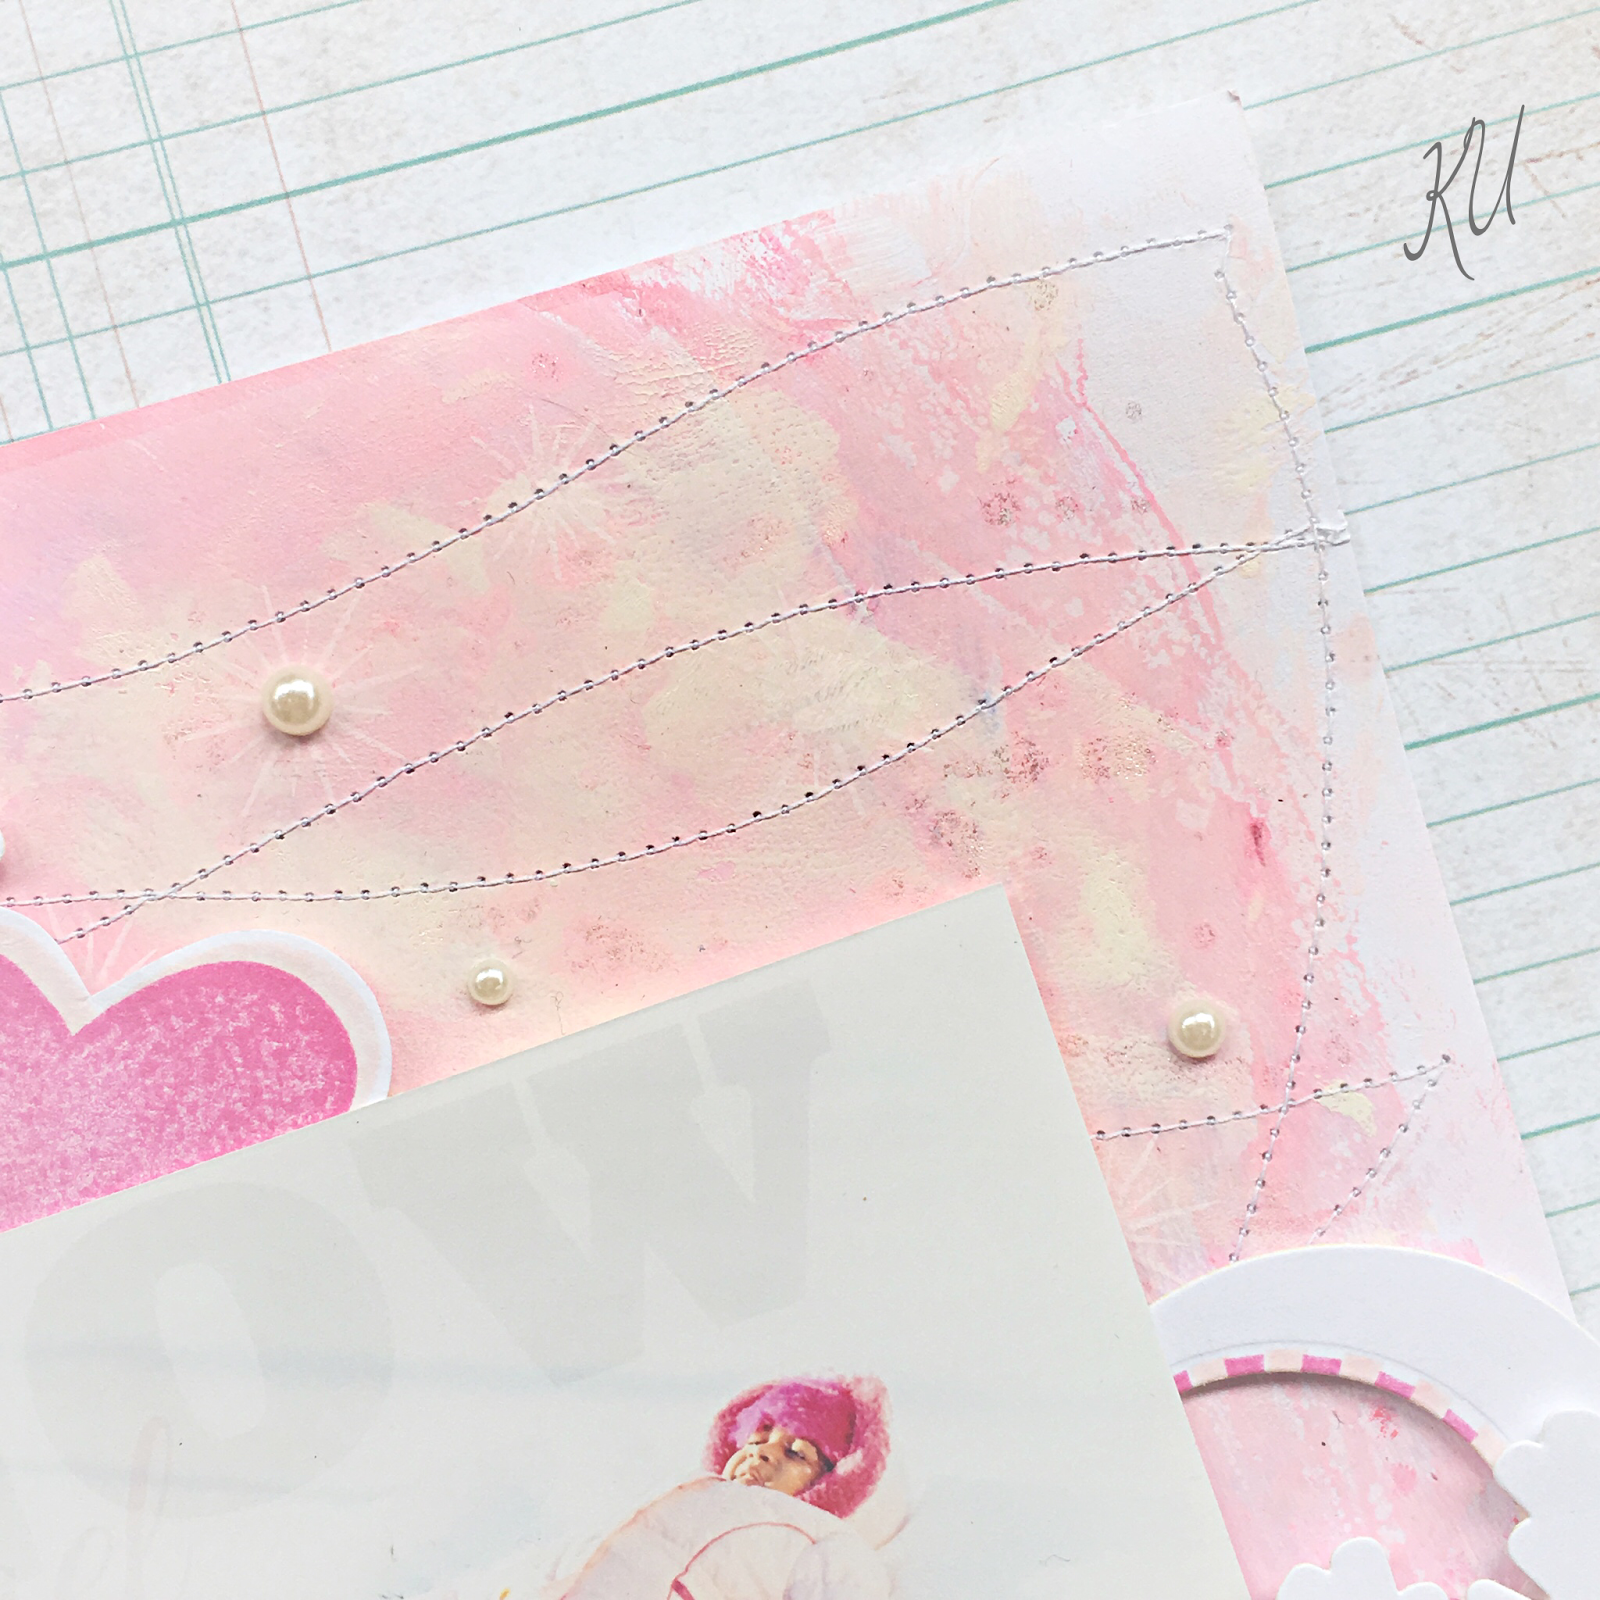
After creating the background, I used my sewing machine to stitch a meandering stitch all over the page.  This acted as my base for my layout.
I stamped the burst image and the heart using Watermelon Fusion and Bubble Gum ink then used dies to cut them out. I made sure to keep the negatives from these burst cuts so that I could use them in my layout.  I loved the little striped edge they created!  I also diecut various snowflakes from the Snow Burst Die Set so that I could incorporate them in my layout design.  
Next, I stamped the fun sentiment from the Hello Love Stamp Set  (also available in Stamp/Die bundle) using Black Licorice ink and diecut it with the coordinating die.  I don't often use sentiment dies, but I love how this one curls the edges ever so slightly to create a "puffy" illusion.
It took a bit of time to be content with the layout of the circles but when I did, I applied some Small Foam Squares and adhered them into place. Before that was done, I added a strip of Silver Sparkle Washi for fun!
Adding a few pearls to the layout was the finishing touch.  Since this is an 8x8 layout, there are many options to build this up to the 12x12 layout size I usually frame.  Pictured above, you can see it with the background from the Romantic Journey Prints.  I also tried it against some Buttercream cardstock and it looked just as nice.

Give it a Go...Didn't make the Cut!

Hey there Journey Friends,

Today I'm beginning the massive share of a selection of projects I created to submit to Richard Garay's Designer Showcase.  I was excited when he announced the call and started working on some special projects immediately.  I compiled all my projects into a gallery on my team FB page (JOIN TEAM ITCHIN INKERS TODAY!) so that I could get the input of my fellow team members who would then vote on the ones I should submit.  It was important to me to get their input and was my first stage in my project submission process.

Today I'm sharing the projects that "Didn't Make The Cut" by my team.  Although I LOVE all of the projects I proposed for this call,  I could only submit two cards and one scrapbooking design, so I am so grateful to my team for helping me make the final decisions! As with all of my project shares on my blog, I will share ONE PROJECT PER POST as they will include my creative process and additional photos.

Decisions, Decisions..This card did not make the cut but I wish it did.  I love it...It was my contribution for a "Masculine Feel".
To create this card, I started out by building a night sky background using my GelPress.  I used a combination of Butter Cream, Pineapple Smoothie, Cool Pool Acrylic Paint, Blue Lagoon Color Splash and River Stone Liquid Color to achieve the desired brayered background layers. Once the background was complete, I added additional highlighting and color using my GelPress as a painter's palette.  Spritzing the inks with a water filled Media Mister allowed me to maintain a fluid consistency throughout my painting process.  
Although the moon isn't a perfect circle (I did begin by using the circle die as a stencil), I think the highlighting and the Micron ink sketch lines helped with the illusion of a beautiful glowing moon.  I stamped the trees from Nature Grown Stamp Set onto the background panel to create depth and a beautiful night scene.  Before mounting this to the black panel, I rubbed a bit of Huckleberry Fusion Pan Pastel (From the Rich Sorbet Collection) on the edges to finish it off.
After the trees were stamped with Black Licorice ink I mounted this panel onto Black Licorice Cardstock.  My next step was to search for the perfect sentiment to go with this card.  I found it in the Color Cross stamp set.  Just adding that sentiment over a few spins of Natural Journey Thread made the card complete...BUT...I wasn't done yet.  I needed to mount this panel onto a card base so that it would shine!  I pulled a Pineapple Smoothie card base and stamped the cross using Pineapple Smoothie ink to give the background some depth and pattern and helped feature the focal panel.
 A little Pearl on the bow dressed this masculine card up just a bit.
Here you can see the texture achieved from the GelPress.  You can also see the sketchy lines I created using a micron pen...trying to mimic the sketchy features in the stamped images.

This has to be one of my most favorite cards created yet.  I love how it turned out and I know how difficult it was not to choose this one to share in the Designers call.

All of the items used in this creation can be purchased in my shop.  Just simply click on the items listed in my description and you'll be directed to the product in my shop!

Wednesday, July 5, 2017

Give it a Go! Part 3...

Hey there Journey Friends,

Today I'm beginning the massive share of a selection of projects I created to submit to Richard Garay's Designer Showcase.  I was excited when he announced the call and started working on some special projects immediately.  I compiled all my projects into a gallery on my team FB page (JOIN TEAM ITCHIN INKERS TODAY!) so that I could get the input of my fellow team members who would then vote on the ones I should submit.  It was important to me to get their input and was my first stage in my project submission process.

First, I'll be sharing the projects that "Made the Cut" by my team.  Although I LOVE all of the projects I proposed for this call,  I could only submit two cards and one scrapbooking design, so I am so grateful to my team for helping me make the final decisions!  After the three projects are entered tonight, I'll be back tomorrow to share the projects I created that "didn't make the cut".  So pop back over tomorrow to see them.  As with all of my project shares on my blog, I will share ONE PROJECT PER POST as they will include my creative process and additional photos.

So here's my Scrapbook Design (I submitted three different designs to my team and this is the one they liked most.  They enjoyed that it was incorporating the use of my planner...another use for your planner YES YES!

This is a two page spread and as such, it's a challenge to photograph detail without splitting the pages up...So you'll see this spread mentioned as "Page Left" and "Page Right".  That's how I prefer to photograph my spreads.

So anyway, I started out by selecting a few of my favorite photos from a summer vactation house I rented on Holmes Beach a few summers ago.  These photos hadn't been used yet so it was a nice opportunity to scrap them for this call.  I like to take "square photos" so they can be easily scrapped and posted online so these four photos fit the Planner Moments Photo Variety pages perfectly!  FSJ introduced some planner sleeves with our new catalog launch and they work perfectly for quick and easy Planner Scrabooking.  I love this form of scrapbooking because it's so portable and fun to share while on the go.
 My Brushed Cool Pool A5 Planner is perfect for my Beachy/Summer Layouts.  I love the color and the shimmer and shine make it stand out against the rest!  I incorporated the use of text I typed on my computer (I'm a bit finicky about handwritten sentiments in my planner and prefer  to type most of my reflections using fun fonts).  As you probably have noticed in many of my other creations, I have a love affair with graph paper too so I used that as a background banner to contain my sentiments. It's easy to embellish and easy to attach using foam squares.  
As a die-hard stamper (and colorer), My pages wouldn't be complete without a little stamping!  I selected a fun Let's Hula stamp set (this set is available as a stamp/die bundle too) and the awesome Tape It planner stamp set to add some fun to this spread. I colored the coconut drink with Liquid Color and added a bit of Sparkle Silk and Journey Glaze for the "ice".  MMM....
I added a few pops of Lemon Drop cardstock color to hint at the sun.  It worked well to add a pop of color and to let the sentiment stand out against the blues and the water elements.  The 1 inch punched circle with the sun stamped in Black Licorice ink also gave a little contrast from all the squares in this design.  
A few Pearls,  Some Sweet Candy Drops and Natural Journey Thread give this spread the finishing touches!  

All of the products used in this Scrapbook spread can be purchased in my shop by clicking on the highlighted text in this post.  I hope you enjoyed this share today and please wish me luck as I Give It a GO! in hopes of making it to round 2!  

Ps...I'll be back tomorrow to share the additional projects that were proposed for the call...I'm wondering...Would you have aligned your vote with my team?  Or...are do you have another favorite? I'll be interested in hearing from you!  

Give it a GO...Part 2...

Hey there Journey Friends,

Today I'm beginning the massive share of a selection of projects I created to submit to Richard Garay's Designer Showcase.  I was excited when he announced the call and started working on some special projects immediately.  I compiled all my projects into a gallery on my team FB page (JOIN TEAM ITCHIN INKERS TODAY!) so that I could get the input of my fellow team members who would then vote on the ones I should submit.  It was important to me to get their input and was my first stage in my project submission process.

First, I'll be sharing the projects that "Made the Cut" by my team.  Although I LOVE all of the projects I proposed for this call,  I could only submit two cards and one scrapbooking design, so I am so grateful to my team for helping me make the final decisions!  After the three projects are entered tonight, I'll be back tomorrow to share the projects I created that "didn't make the cut".  So pop back over tomorrow to see them.  As with all of my project shares on my blog, I will share ONE PROJECT PER POST as they will include my creative process and additional photos.

So here's CARD #2.  It's a fun little interactive card that was a hit with my team.  I was worried about this card and was not quite sure whether to submit it in my gallery or not...but they decided...THIS WAS TO BE SUBMITTED...So I listened.
Want to see it in action???  Here goes (please disregard sound)
This was quite fun to create! 

I started out by coloring the ghosts from the new Party Ghost Stamp Set with Liquid Color.  After they were colored and fussy cut (yes, there is a stamp and die bundle for this adorable set), I added some Small Foam Squares to the back.  I then diecut a large Journey Circle (with pierced element added) onto the Pineapple-Smoothie Canvas- like paper from the Mystic Romance Prints Collection  I also diecut another circle using Whip Cream Cardstock so that I could use that as a spinner base.  
I laid the cardstock (distressed with Orange Rave Ink and a Dauber) onto the Black Licorice Card Base and punched a hole with my 1 1/4 inch circle punch.  I removed the orange cardstock and attached the Whip Cream Circle to the top flap of the card base using a small brad.  I tested out the spin action and then attached the Citrus Cooler Satin ribbon and then the ghosts.
I finished off the card by adding a punched circle with the sentiment (I cut the sentiment so that each word would stamp separately and so that I could stack the words instead of have them read as a complete sentiment horizontally).  One more test run and it worked again!  WOOP WOOP!  Next was to add the Journey Glaze onto the ghosts to make the paper a bit more sturdy...Wahoo!  Spin that wheel!

After the glaze was dry, I attached a tag (Tag Time Punch) and a few stamped ghosts (I used River Stone for a lighter gray image) and the sentiment using some Black Journey Twine and a few Sweet Candy Drops finished the card off.

All of the materials used in this project can be purchased in my shop.  Just click the items mentioned in my text and you'll go directly to my shop!  :)

Give it a GO!...Part 1

Hey there Journey Friends,

Today I'm beginning the massive share of a selection of projects I created to submit to Richard Garay's Designer Showcase.  I was excited when he announced the call and started working on some special projects immediately.  I compiled all my projects into a gallery on my team FB page (JOIN TEAM ITCHIN INKERS TODAY!) so that I could get the input of my fellow team members who would then vote on the ones I should submit.  It was important to me to get their input and was my first stage in my project submission process.

I'll be sharing the projects I created for this call.   Although I LOVE all of the projects I proposed for this call,  I could only submit two cards and one scrapbooking design, so I am so grateful to my team for helping me make the final decisions!  After the three projects are entered tonight, I'll be back tomorrow to share the projects I created that "didn't make the cut".  So pop back over tomorrow to see them.  As with all of my project shares on my blog, I will share ONE PROJECT PER POST as they will include my creative process and additional photos.
I LOVE the whimsical flowers in the Chosen Family stamp set and I just had to start out my creation process with this amazing set.  I focused in on the stitched circle bloom and decided I wanted to make a background with it.  SOOO...I cut some Ivory DMC floss and colored it with my new Bubble Gum Liquid Color. It colors beautifully!  
 Pretty awesome, right?
So after the thread was done, I painted circles on the canvas using Bubblegum Liquid Color and a Large Water Brush.  I didn't worry about symmetry and perfection because I wanted to maintain the whimsy of this design. I doodled some circles onto the Canvas Sheet (cut to size) and over the pink circles to mimic the design of the stamp using the Journey Silver Marker.  I love using Canvas Sheets when I'm hand stitching cards because the canvas is so giving it doesn't leave pierce holes like cardstock does.  It's a perfect surface for mixed media and fun ink techniques!  

After that, I took some of the pink thread and a needle and stitched some stitches onto the circle edges.  I did this with both the pink and black thread.  When the background was complete, I set out to create the flowers and the top layers of the card.  
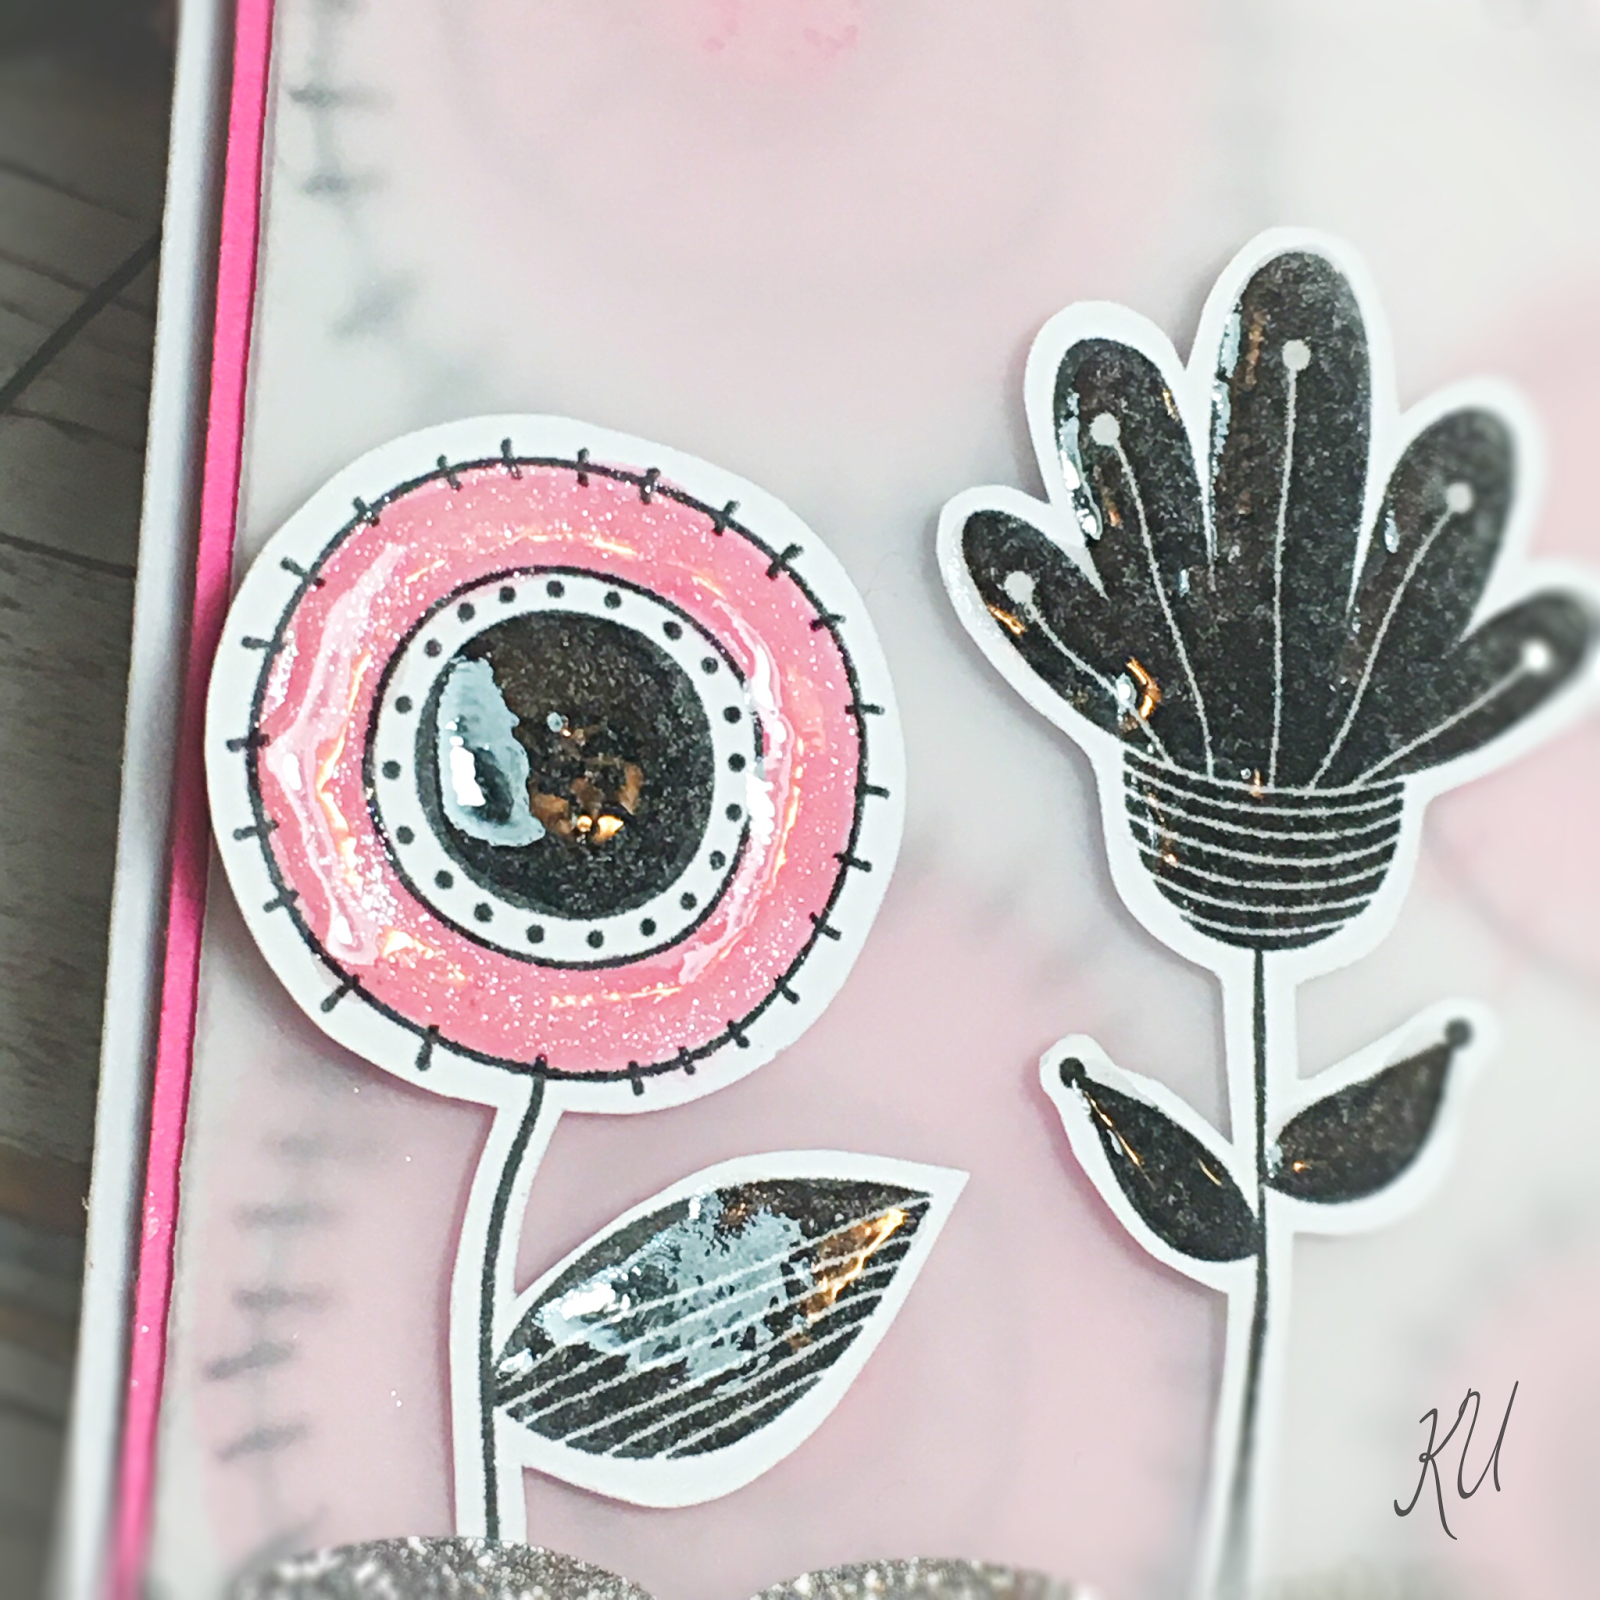
I stamped the three flowers onto Whip Cream Cardstock using Black Licorice Ink.  I colored them with a mix of Bubblegum Liquid Color and Sparkle Silk.  This combination creates an amazing sparkle pink!
After stamping, coloring and fussy cutting the flowers (this stamp set is available with a coordinating die set too), I laid the flowers out onto the Vellum panel so that I could arrange a pleasing design.  I stamped the sentiment into position and attached the flowers with Small Foam Squares.
To finish the card off, I applied Journey Glaze onto the flowers and the sentiment, added some Silver Scalloped Sparkle washi tape and tied some Black Twine onto the bottom.  I mounted this panel onto Watermelon Fusion Cardstock and then attached the whole stamped panel onto a Whip Cream card base.  Adding a little pink Sweet Candy Drop finished the card off!
 All of the products featured in this card creation can be purchased in my shop.  Just click the items listed above and you'll be directed to each item.  Thanks so much for stopping by to check out this "Made the Cut" project.  I'll be back in a few minutes to share another "Made The Cut" creation!  Toodles!  

Tuesday, July 4, 2017

Happy Fourth of July!

Hello there Journey Friends!

Sending you July 4th sparkles and pops!  Hope it is fun...and the BOOMS are kept to a minimum.  :)

This was a fun (and quick) card to create!  I started out by creating a star-shaped card base using Whip Cream Cardstock.  I then applied a Mirror Silver Cardstock star shape to the top using the largest Star-Dom star die.  After that, I diecut some star strips from the Border Details Die Set using some Rich Coral and Catalina Splash Cardstock.  I tied these strips and some sparkly Twinkle Trim with some Black Twine and a scrap of Candy Apple Red Satin Ribbon to create a fun and festive embellishment spray.  I popped that up on the star using some Small Foam Squares and one little Sparkle Drop.

I just love how crisp and clean the letters cut!  They are very sturdy and hold up well without risk of bends on this paper!
To finish the card off, I diecut the U.S.A using Mirror Gold cardstock and the Journey Serifs Steel Rule Die stamped (with Denim Days and Rich Coral Ink) a few polkadotty stars from the Star Bright Stamp Set.  It's such a well-loved set in my collection.

It's so fun creating a non-traditional shaped card so I encourage you to take your dies and use them for card bases!  You'll be glad you did!

All products used to create this festive card can be purchased in my shop.  Just click on the item names to go directly to the product!  :)  Happy Shopping!

Monday, July 3, 2017

2017-18 Inspiration Book and Catalog is LIVE!

Yipeeeee!!! Our new 2017-18 catalog is LIVE!  It's packed full of gorgeous product and inspiration, I can attest to that!  Want one?  Order your catalog on my site today HERE and I will send you a Holiday Mini Catalog when it goes live next month!  

I've been working hard creating delish projects to share on my blog and with customers and am scheduling classes and parties now.  Please let me know when you would like to host your party so I can work closely with you to cater it to your needs.  

Watch my blog in the next few days for some amazing fun to come this way!