

I came home with the new 2017-18 Inspiration Book and Catalog, the 2017 Holiday Trends Mini, TONS of new product and endless fill of inspiration and memories...

I'm sharing this fun card set I created using the newest product partnership with Fun Stampers Journey. On July 1, FSJ will host an exclusive 8 1/2 x 11 Gel Press and it's such a fun tool to create beautiful cards, backgrounds and embellishing elements. SOOO EXCITED!
So, here you have it...These muted tone backgrounds were created using my new Gel Press. I incorporated a bit of FSJ Liquid Color (new to our color line-up July 1) and Acrylic Ink and the new Bubble Wrap embossing folder. So fab!
This is quite CAS for me and my style but I love the cluster of embellishing elements that lay atop the Gel Pressed background panel strip. 

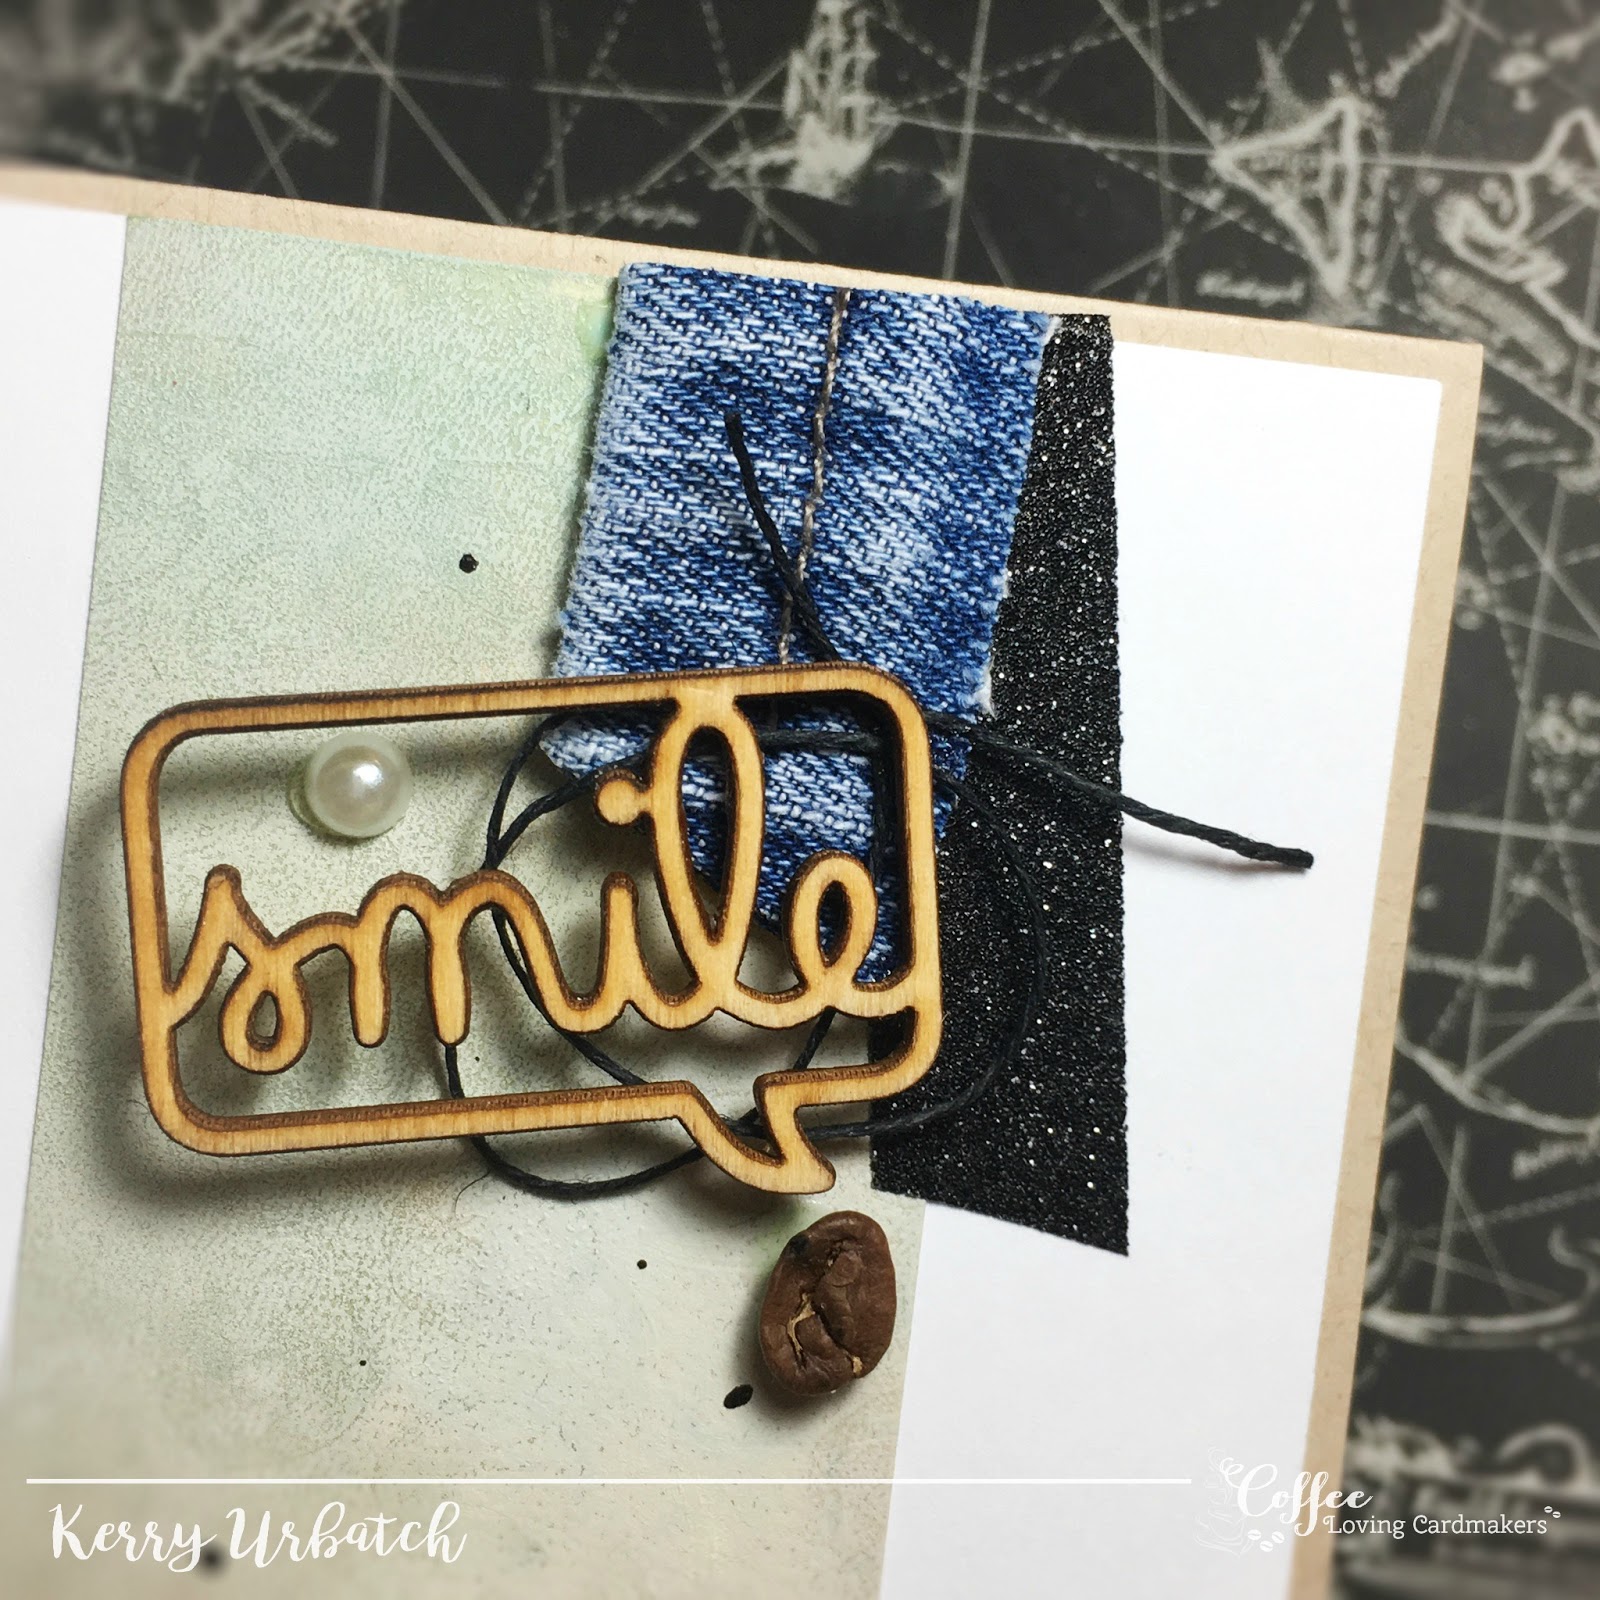
The embellishments were a fun addition. I have had the Word Bubbles for a while now and they made a fun appearance on the cards. Of course I had to incorporate some yummy black Sparkle Washi and black twine! A few flicks of Dark Roast Silk finished the card off... OHHH...I forgot, I also added a little coffee bean onto the card because it speaks my language. You can understand them too, right?
Want to see my process to achieve the background? Check it out!

I added about six drops of each color into a mister filled with water. I then spritzed some color onto the plate after dripping a few drops and brayering it onto the plate.


After that, I applied more drops of Lovely Blue, one drop of Catalina Splash and Orange Creamsicle Liquid Color onto my plate. I pressed the new Bubble Wrap Embossing Folder onto the plate to lift some of the ink.

I pressed the card base onto the plate and rubbed it gently with my hand. I lifted it up and this impression was left on my paper.

I applied some clear pigment ink to the plate (so my brayer would glide over the plate) to help the ink spread like soft butter then added some Butter Cream Acrylic ink using my brayer. After a few layers (and a few additional drops of Orange Creamsicle Liquid Color), I achieved the background I was looking for...Quite velvety, quite lovely, don't you think?
Take a look at the sketch created from this card collection. I hope you find some time to play along with it...Perhaps it will make an appearance in the hop coming up this week?! If you choose to play along, please include a link to your creation by adding it to our linkup below.

Fabulous cards lady! Love the awesome colors and textures!
ReplyDeleteWhat a great card! Ca't wait to see all that you have come up with for the coffeelovers blog hop!
ReplyDeleteBeautiful card and layout. Thanks for being a sponsor too.
ReplyDeleteso pretty:)
ReplyDeleteSuch a fun technique!
ReplyDeleteI haven't tried this before but it looks fun! Thanks for the inspiration!
ReplyDeleteCool cards! Looks interesting for sure.
ReplyDeleteThanks so much for being a sponsor at the CLBH.
Sweet layout to the card!
ReplyDelete