
Today I'm beginning the massive share of a selection of projects I created to submit to Richard Garay's Designer Showcase. I was excited when he announced the call and started working on some special projects immediately. I compiled all my projects into a gallery on my team FB page (JOIN TEAM ITCHIN INKERS TODAY!) so that I could get the input of my fellow team members who would then vote on the ones I should submit. It was important to me to get their input and was my first stage in my project submission process.

Today I'm sharing the projects that "Didn't Make The Cut" by my team. Although I LOVE all of the projects I proposed for this call, I could only submit two cards and one scrapbooking design, so I am so grateful to my team for helping me make the final decisions! As with all of my project shares on my blog, I will share ONE PROJECT PER POST as they will include my creative process and additional photos.
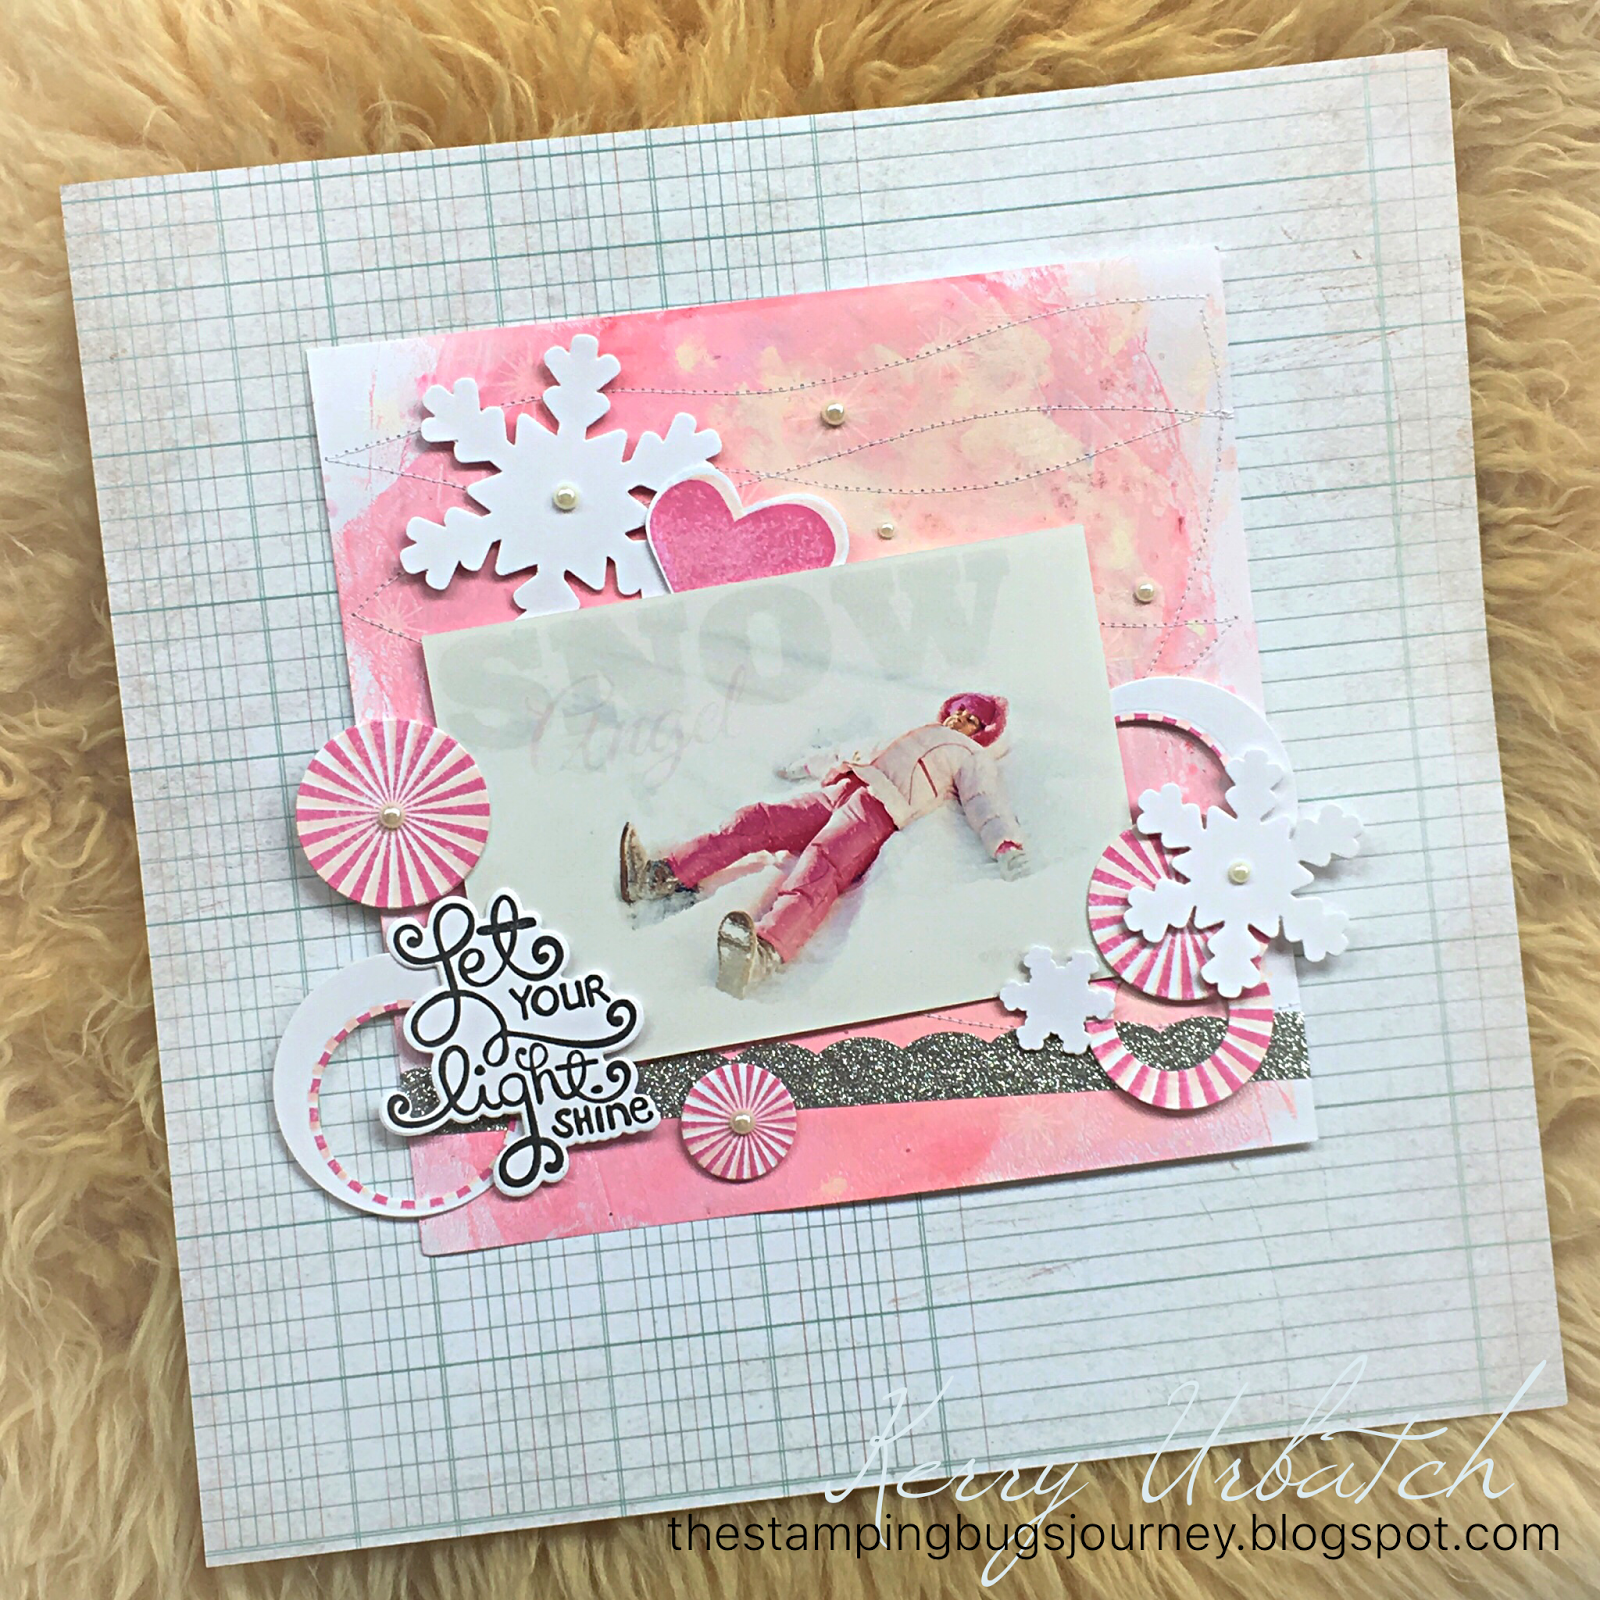
Here's a fun 8x8 (or increased to 12x12 with proper mounting/framing) scrapbook layout created with a favorite memory photo...I LOVE SNOW and so does my NIECE!

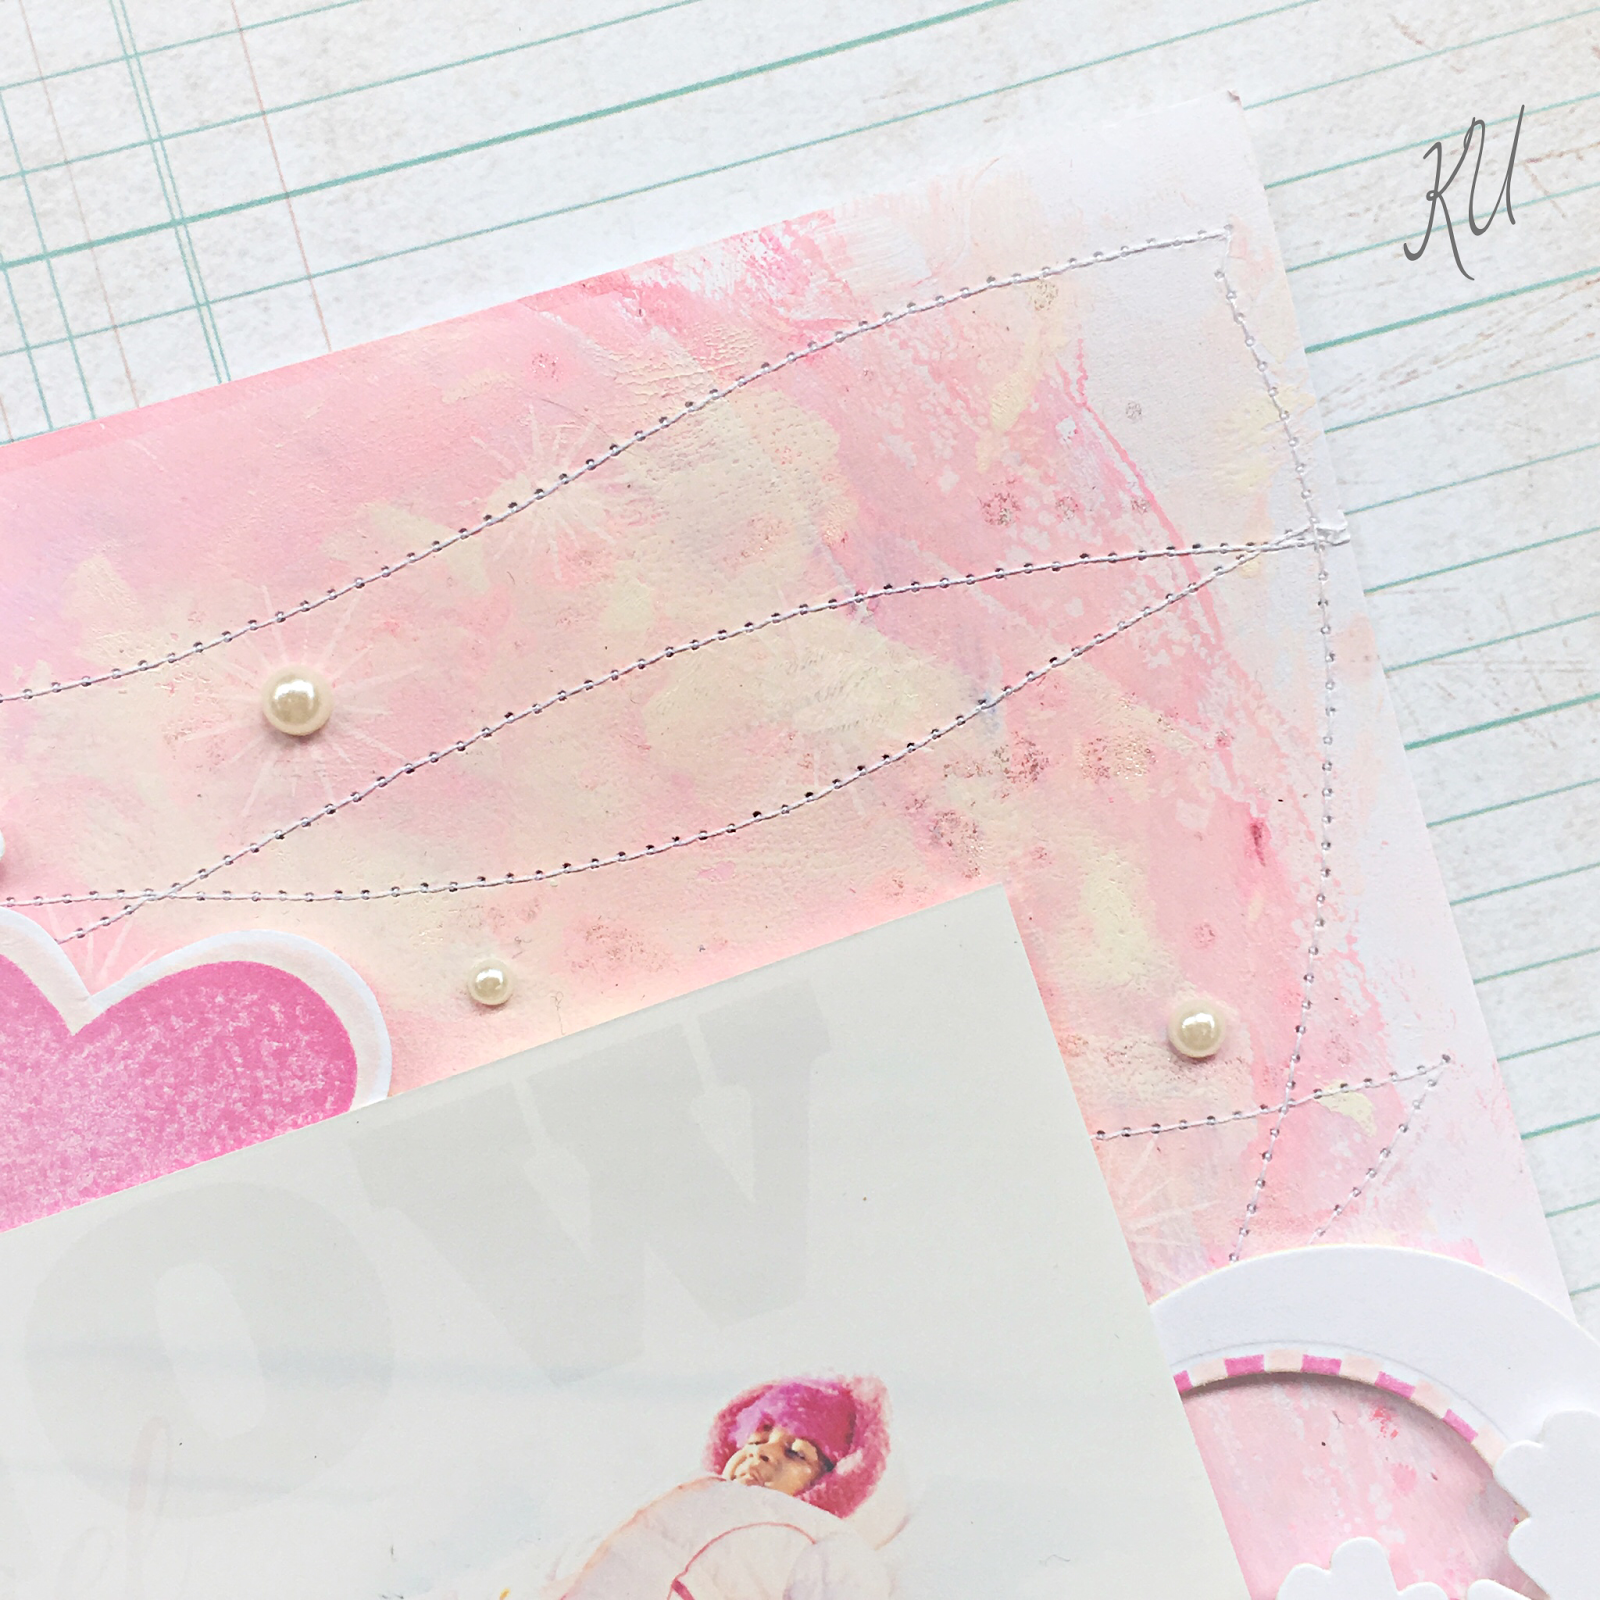

I stamped the burst image and the heart using Watermelon Fusion and Bubble Gum ink then used dies to cut them out. I made sure to keep the negatives from these burst cuts so that I could use them in my layout. I loved the little striped edge they created! I also diecut various snowflakes from the Snow Burst Die Set so that I could incorporate them in my layout design.


No comments:
Post a Comment
Thank you for taking the time to comment about my creations! I appreciate the feedback and LOVE. A stamp in the hand is a song in the heart. Kerry